*I just want to make it clear that these are something I pulled out my ass for a friend (and now I have a metric shit ton of them in my geek room), they are not lisenced or endorsed by Nintendo, they are just something neat that any mental giant with a sewing machine can put together*
.JPG)
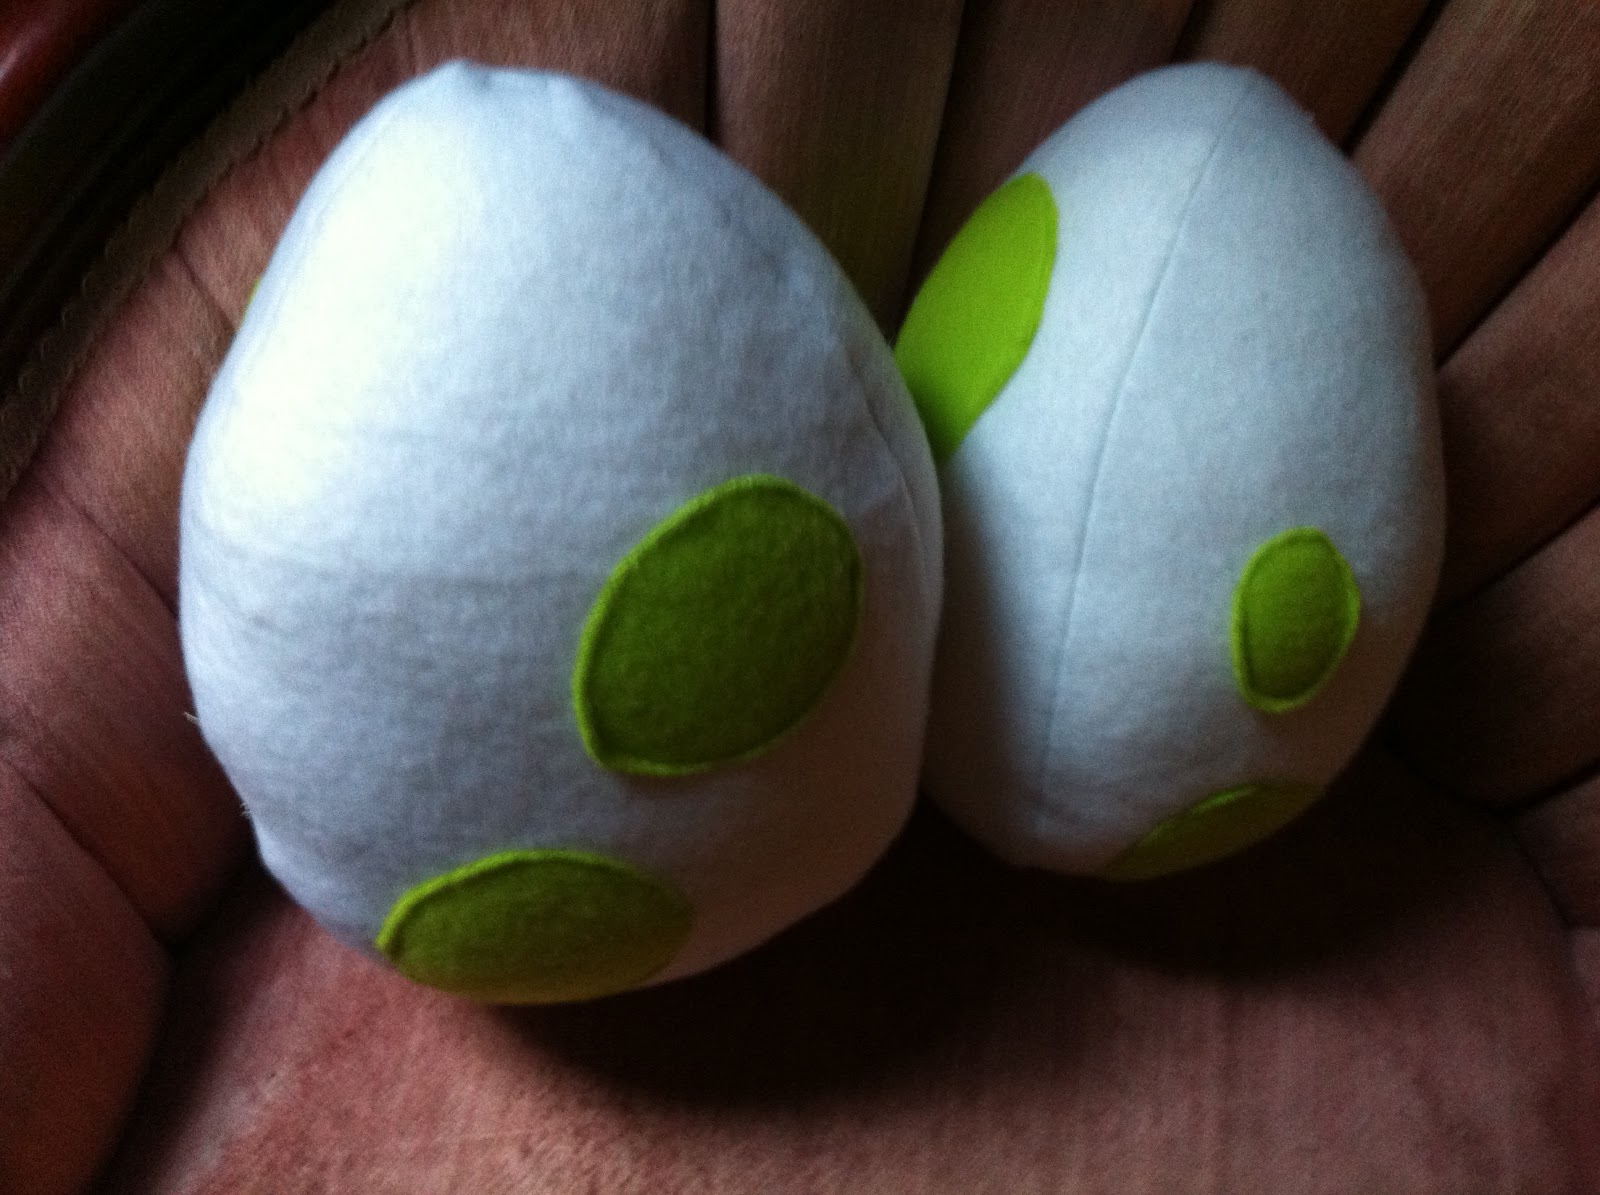
Finished Yoshi egg stuffies
You will need: (makes two eggs- provided you dont screw up.): ~0.5m White fleece (splurge the extra fifty cents a yard for the non pilling kind... You will thank me later when your yoshi eggs are well loved and not looking like they have some undiagnosed STD)
~0.1m Green fleece (or colour of your choice) Buy more coloured fleece if you want your eggs to have more spots, and again- don't be a cheap bastard, get the non-pilling fleece.
~A sewing machine (or a needle and thread and lots of extra time on your hands.)
~Scisors
~Stuffing of some kind- you can use all sorts of stuff for this, from scrap fabric bits to actual stuffing from the craft store... in my experience you have to stuff these suckers quite dense to hold the shape well- so your really better off buying a bag of stuffing.
.JPG)
I buy stuffing in bulk. Seems like I always need that junk.
How to:
Step 1:
Cut your fleece. You will have to cut oblong circles of varying sizes our of the coloured fleece.
As a side note, I havent been able to find out if Yoshi eggs have a specific number, size or placement pattern for the spots. Knowing the nit-picky folks at Nintendo, I would think that they do, but I havent found it.... If you manage to find it help a sister out and let me know.
You'll also have to cut out 3 'football' shaped panels out of the white fabric. (see the picture below) Make them slightly more pointed on the top and more roundy on the bottom to give an egg shape when complete.
.JPG)
Step 2:
Fire up ye-olde-sewing machine! Start by sewing the coloured spots flat onto the white football shaped panels, to keep everything looking good, keep the stitches a uniform distance away from the edge of the coloured fleece. (a couple milimeters is plenty to give it enough strength to hold the fabric down)
Step 3:
Now that you have your coloured spots attached to the white panels, its time to stitch the white panels together. I shouldnt have to say this, but put them face to face (side with coloured spots to side with coloured spots) and sew ONE of the outside edges.... not two boys and girls, unless you want the flattest yoshi eggs you've ever seen.
Step 4:
Take that third panel and do the same thing, sewing both sides, but make sure to leave yourself enough room to turn it right side out and stuff it.
Step 5:
Turn it right side out and stuff it. Shocking stuff, I know.
Step 6:
Hand stitch the hole you used to stuff it shut. Hand stitching is the devil and most people suck at it, sorry 'bout that there sunshine. Practice makes perfect!
Yay finished yoshi eggs! Protect them from your klepto friends... seriously.
As always, the content displayed in this post (including the pictures!) is property of Dark Knits Boutique and may not be copied in any form without express written consent.
As always, the content displayed in this post (including the pictures!) is property of Dark Knits Boutique and may not be copied in any form without express written consent.
No comments:
Post a Comment